 +91 93730 08466
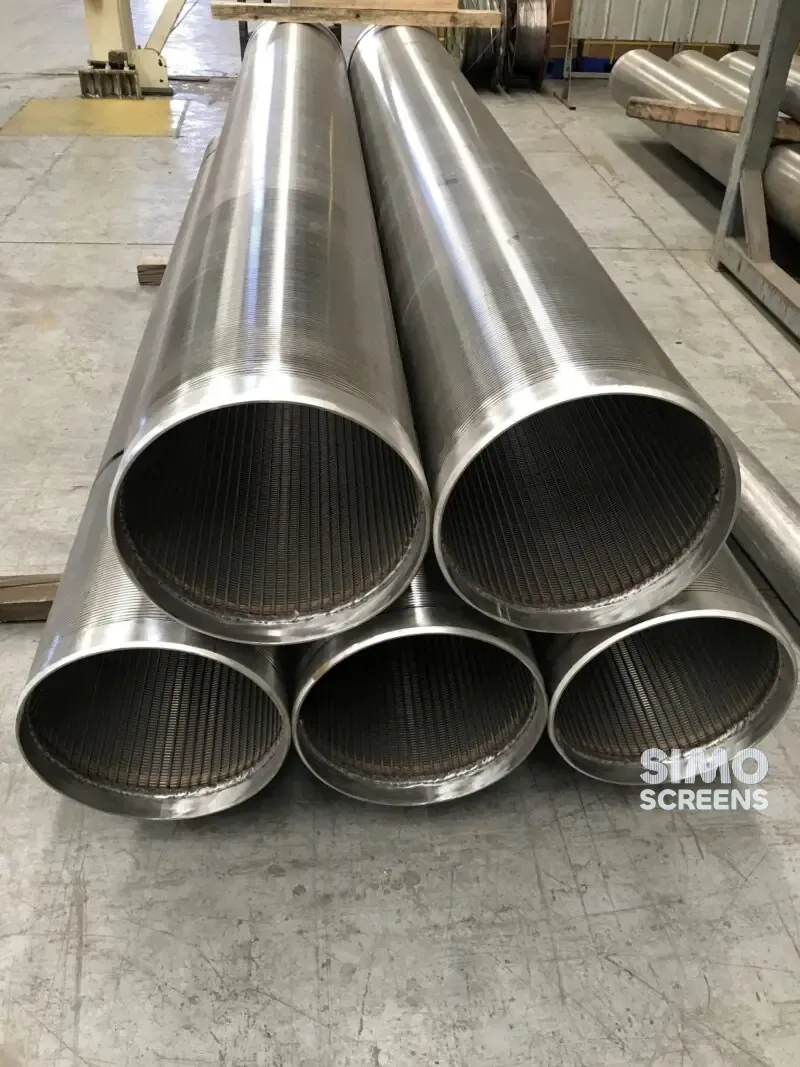
 Screen tubes and pipes
 Screen cylinders
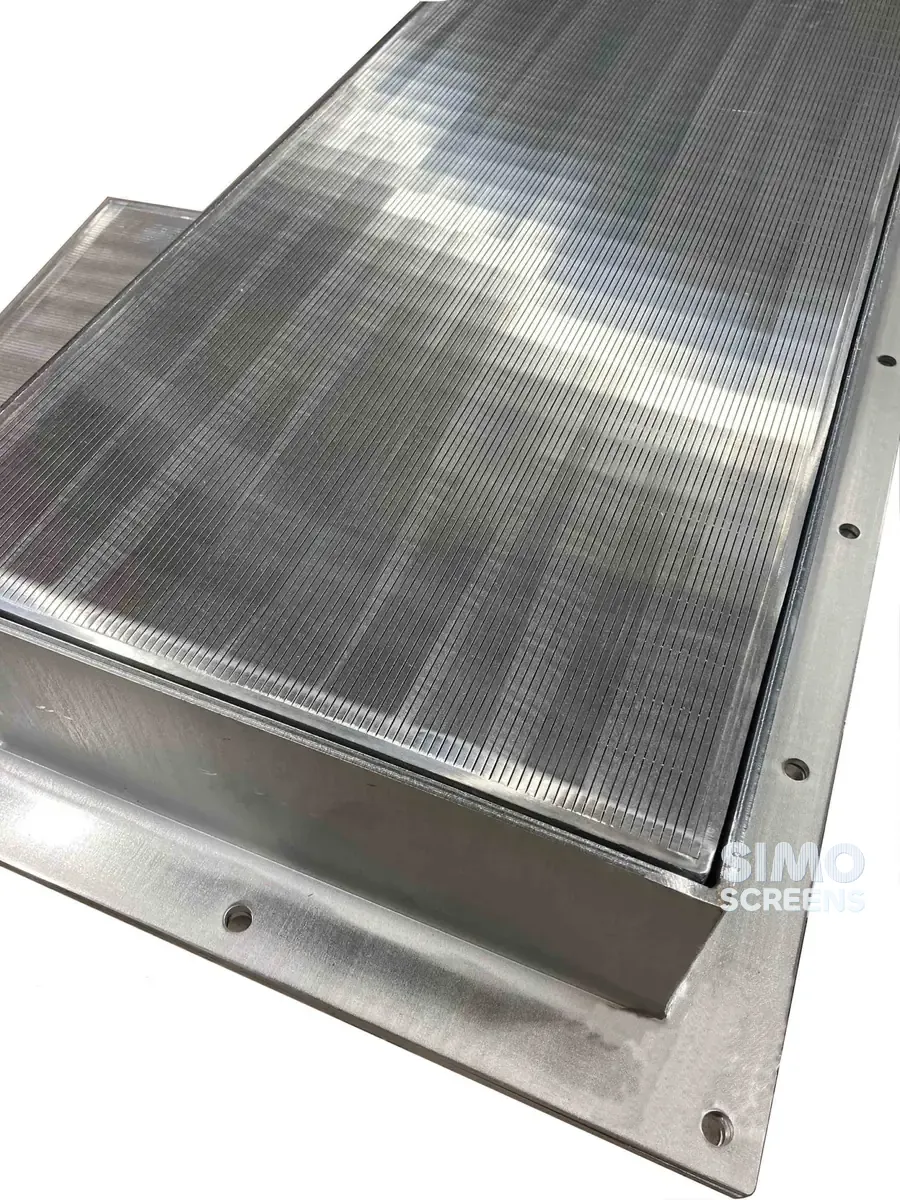
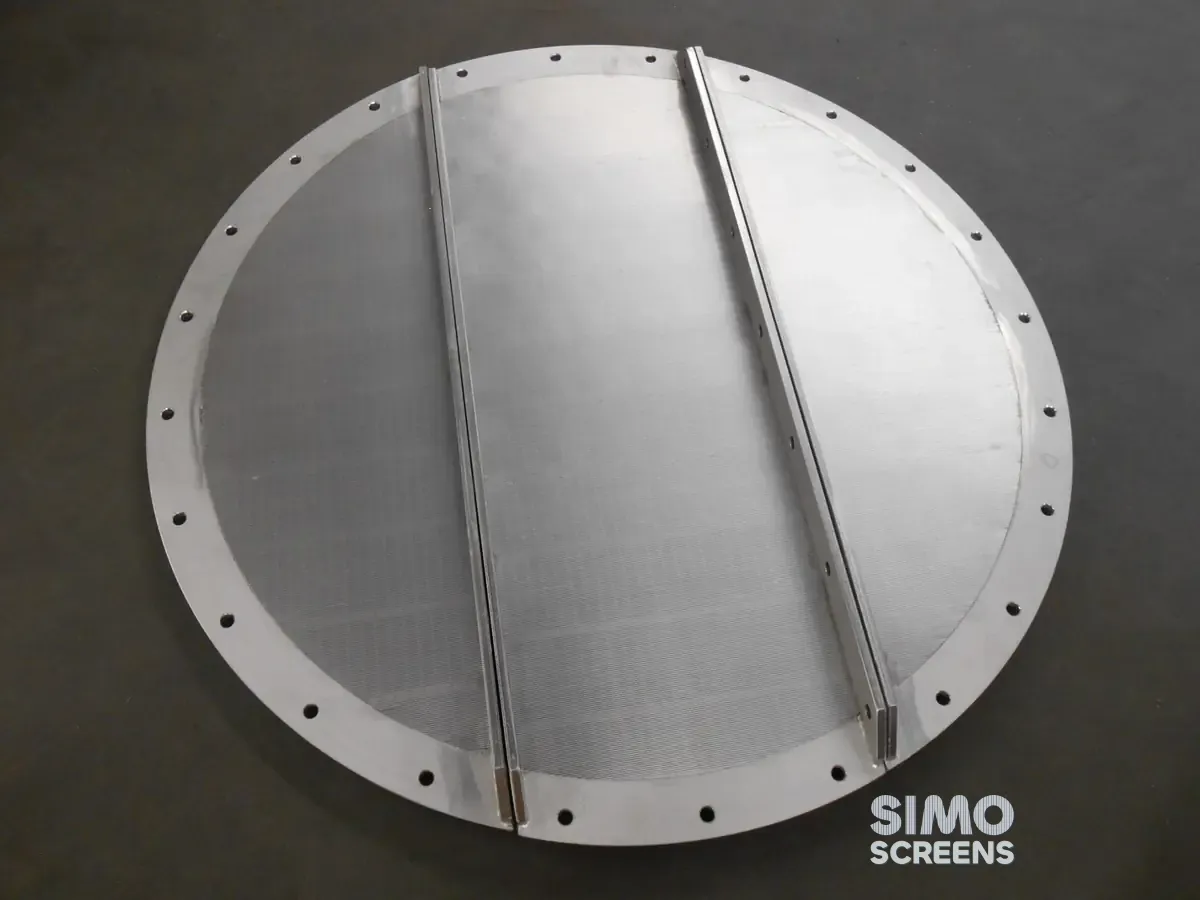
 Flat panels and false bottoms
 Candle filter elements
 Water well screens
 Header and hub laterals
 Filter nozzles
 Resin traps
 Support grids
 Sieve bend (DSM) screens
 Centrifuge baskets
 Pressure screen baskets
 Screw press screens
 Rotary drum screens
 Passive intake screens
 Coanda intake screens
 Water and wastewater treatment
 Water wells and groundwater
 Sugar and distillery
 Brewing, malting and beverages
 Food processing
 Mining and minerals
 Oil, gas and petrochemicals
 Chemicals, fertilisers and pharma
 Power generation
 Pulp and paper
 Buildings and drainage
Wedge wire screen sizes at a glance
Four numbers define the size of a wedge wire screen. The profile wire and support rod set strength and open area, the slot sets what is retained, and the diameter or panel size sets the screen area.
| Size parameter | SIMO range |
|---|---|
| Profile wire | 12SB to 56SB, widths 1 to 5 mm, heights 2 to 6.5 mm |
| Support rod | Q23 (2 x 3 mm) to F253 (3 x 25 mm), plus round rods of 3.15 and 3.6 mm diameter |
| Slot opening | 25 microns (0.025 mm) to 25 mm |
| Diameter | 25 mm to 800 mm |
| Length | Up to 6,000 mm |
| Flat panel | Up to 2,400 mm wide and 4,000 mm long; larger decks as joined panels |
Swipe sideways to see the whole table.
The wire is selected for open area and wear, and the rod for load.
Profile selection and screen performance
A screen with the correct slot can still fail if the profile is wrong. A wire that is too light bends, wears through or allows the slot to open, while a wire that is too heavy reduces open area and raises pressure drop.
The support rod has its own failure modes. An undersized rod lets a panel sag or a cylinder collapse, and an oversized rod adds weight and cost without improving performance.
How profile wire and support rod work together
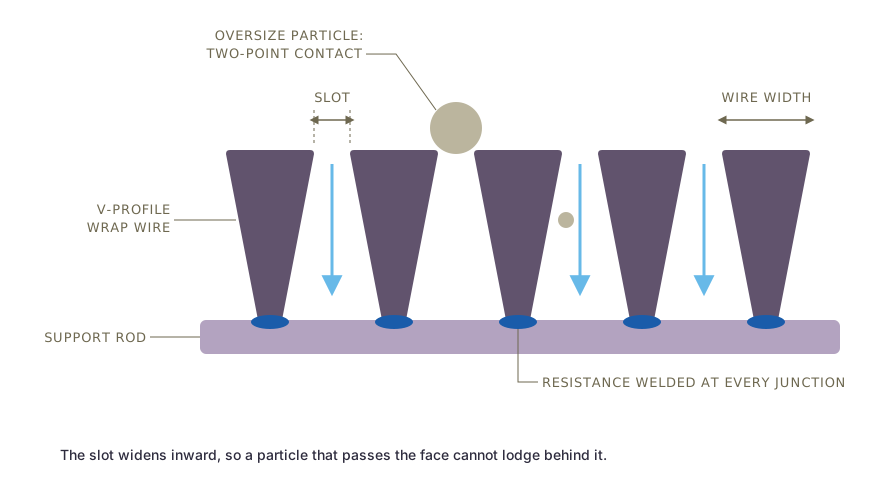
A wedge wire screen has two elements, welded at every intersection.
Swipe to see the full drawing.
- Profile wire (also called V wire, surface wire or wrap wire) forms the screening face and the slot. Its width sets the open area, and its height sets its own stiffness.
- Support rod (also called the rod or support wire) runs across the profile wire and carries the load to the frame, end rings or vessel supports.
Every wire and rod intersection is resistance welded on high-frequency transformer machines. The screen acts as one structure, so it resists thermal cycling and pressure transients up to 300 PSI.
Profile wire sizes
SIMO forms its profile wire in house to SIMO profile codes, each of which fixes the shape, head width and height. Wire is made and stocked by code, and dimensions are checked with calibrated micrometers before welding.
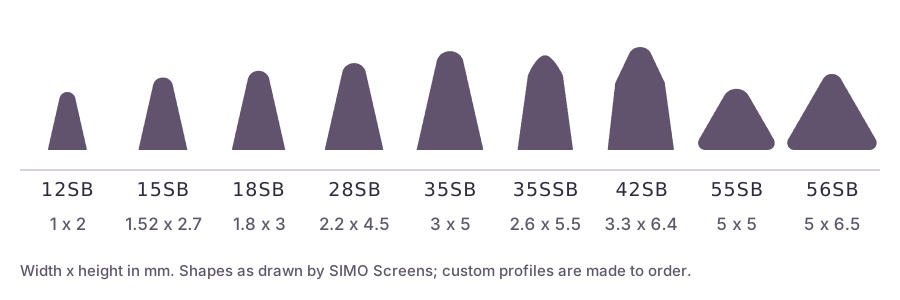
Swipe to see the full drawing.
| Profile wire no. | Width (mm) | Height (mm) | Open area at 0.25 mm slot (%) | Open area at 1.0 mm slot (%) |
|---|---|---|---|---|
| 12SB | 1.0 | 2.0 | 20.0 | 50.0 |
| 15SB | 1.52 | 2.7 | 14.1 | 39.7 |
| 18SB | 1.8 | 3.0 | 12.2 | 35.7 |
| 28SB | 2.2 | 4.5 | 10.2 | 31.2 |
| 35SB | 3.0 | 5.0 | 7.7 | 25.0 |
| 35SSB | 2.6 | 5.5 | 8.8 | 27.8 |
| 42SB | 3.3 | 6.4 | 7.0 | 23.3 |
| 55SB | 5.0 | 5.0 | 4.8 | 16.7 |
| 56SB | 5.0 | 6.5 | 4.8 | 16.7 |
Swipe sideways to see the whole table.
Open area is nominal, from Open area (%) = Slot x 100 / (Slot + Wire width). The range covers light, standard, heavy duty and custom profiles, and custom profile and rod sizes outside the tables are made subject to order quantity and frequency.
Support rod sizes
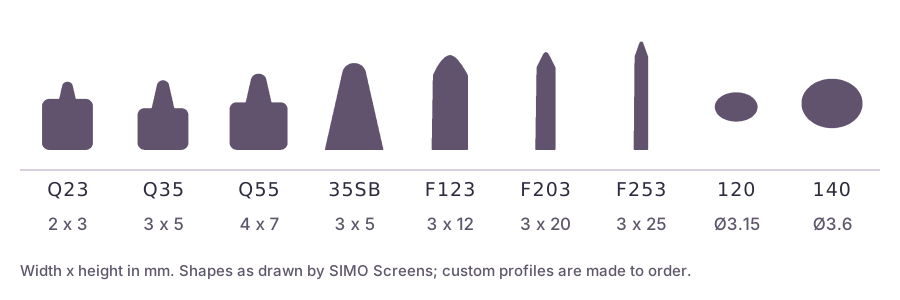
Swipe to see the full drawing.
| Support rod no. | Width (mm) | Height (mm) | Notes |
|---|---|---|---|
| Q23 | 2 | 3 | Light rod for small cylinders and light panels |
| Q35 | 3 | 5 | General-purpose rod |
| Q55 | 4 (keystone, 4 to 4.5) | 7 | Heavier keystone-section rod for larger diameters and loads |
| 35SB | 3 | 5 | Profile-section rod |
| F123 | 3 | 12 | Deep flat rod for panels spanning between supports |
| F203 | 3 | 20 | Deeper flat rod for longer spans and bed loads |
| F253 | 3 | 25 | Deepest standard rod, for heavy grids and false bottoms |
| 120 | dia 3.15 | round | Round rod |
| 140 | dia 3.6 | round | Round rod |
Swipe sideways to see the whole table.
All dimensions are width x height in mm, except the round rods, which are given by diameter.
How to choose the profile wire
Profile wire selection follows four questions:
- Slot and open area. Narrow wires give more open area at fine slots. The slot and open area guide gives the formula and a full table.
- Abrasion. Coal, ore, sand and crystal slurries wear the wire face, and a wider, taller wire gives more wear allowance before the slot opens.
- Load between rods. The wire spans the gap between support rods, and a taller wire spans further, because for a given width bending strength rises roughly with the square of the height.
- Impact and scraping. Scrapers, conveyed product and dropped lumps need a robust face, so a heavier wire is used even where open area is reduced.
Indicative profile groups
As general guidance, SIMO profiles fall into three groups. The final selection depends on the full operating conditions.
| Group | Profile wires | Typical applications |
|---|---|---|
| Light | 12SB, 15SB | Fine filtration, candle filter elements, filter nozzles, resin traps |
| Standard | 18SB, 28SB, 35SSB | Water well screens, laterals, screen tubes, lauter tun false bottoms, sieve bends |
| Heavy duty | 35SB, 42SB, 55SB, 56SB | Mining dewatering decks, centrifuge baskets, intake screens, support grids |
Swipe sideways to see the whole table.
Some applications cross the groups. DM plant laterals, for example, typically use 12SB on Q23 rods for low pressure and high flow, and 15SB for higher pressure at moderate flow, while sugar juice screens use 15SB or 18SB, with 28SB on heavier designs.
How to choose the support rod
The rod selection follows the geometry of the screen:
- Cylinders under external pressure. The rods run along the length and support the wire, which acts as a series of hoops, so rod size and spacing govern how well the wire is supported.
- Flat panels spanning between beams. The rods carry the bed load as beams and rod depth matters most, so the F series rods are deep and narrow.
- False bottoms and support grids. These carry bed weight, wet grain or catalyst load, and sometimes thermal expansion, and deep rods such as F203 or F253 are common.
- Small diameters. A light rod such as Q23 keeps the bore clear and suits small screen tubes and nozzles.
Rod spacing (pitch) also matters. Closer rods support the wire better but add weight and shadow slightly more of the slot from behind.
Profile, rod and material together
Material grade changes the structural picture, because Duplex 2205 and Super Duplex 2507 have much higher proof strength than SS 304 or 316L in the annealed condition. For the same load, a stronger grade can sometimes use a lighter profile and recover open area, although corrosion still sets the minimum grade. The material selection guide covers that step.
Worked example: two wires for a dewatering deck
A dewatering panel needs a 0.5 mm slot for a fine coal slurry, and it must last between planned shutdowns.
| Option | Width (mm) | Height (mm) | Open area at 0.5 mm (%) |
|---|---|---|---|
| 28SB | 2.2 | 4.5 | 18.5 |
| 42SB | 3.3 | 6.4 | 13.2 |
Swipe sideways to see the whole table.
The 28SB wire gives about 40 percent more open area, so it drains faster. The 42SB wire has half again as much face width and a much taller section, so it resists wear and impact for considerably longer.
If drainage capacity limits the plant, 28SB on closer rods is usually the better choice; if panel life limits the plant, 42SB is the safer one. SIMO engineering can model both options by calculation, or by FEA where loads are unusual, before the design is fixed.
Load data for sizing the wire and rod
Profile and rod selection is a structural check, so the enquiry should give the loads as well as the dimensions.
| Load case | Data required | Why it matters |
|---|---|---|
| Differential pressure | Normal, maximum and backwash values, with direction | Sets wire bending between rods and weld load |
| Collapse pressure | Formation or external pressure on cylinders | Sets wire size and rod pitch for wells and vessels |
| Bed or product load | Bed depth and density, wet grain or catalyst weight | Sets rod depth for panels and grids |
| Span | Distance between support beams or rings | Sets rod depth and pitch |
| Temperature | Operating range and rate of change | Thermal stress and expansion allowances |
| Dynamic load | Vibration, centrifugal force, impact | Fatigue at welds and wear on the face |
Swipe sideways to see the whole table.
With this data the design is checked by calculation, and by FEA where the geometry or loads are unusual.
Matching an existing screen
For a replacement, the following should be recorded from the screen in service:
- slot width, measured with a feeler gauge at several points;
- profile wire width and height, measured on a cut sample or worn edge;
- support rod size, shape and spacing;
- overall dimensions, end fittings and flow direction.
From these, SIMO identifies the nearest standard profile and rod, or proposes a change if the old screen wore or failed early.
Related products, tools and engineering support
- Products: flat wedge wire panels and support grids depend most on rod selection, while water well screens depend on both wire and rod.
- Tool: the open area calculator shows open area for any profile width.
- Engineering: for loads, spans or profiles outside the standard tables, see custom engineering. SIMO uses FEA for structural validation of custom designs.